🕒 12 min read (Quick)
Late last month, I was testing some Windows Server failover cluster features in a virtual environment. but then decided to switch to using actual hardware for my hypervisor installation to gain more hands-on experience with my setup. Also started getting ideas for other infrastructure to build around this. So as a Christmas gift to myself, I ordered some goodies to upgrade the networking a bit in my lab environment to support more resilient Windows Server cluster failover features on my hosts. One project I had in mind was building a robust Hyper-V cluster, so that meant shared storage would be needed, and I also wanted to use iSCSI and MPIO to make my cheap NAS feel a bit more like a high-end SAN to deliver VM storage. Figured I write a short blog on this as it may help others in picking hardware for a small lab environment with similar requirements/needs. The common theme is most of what you’ll see that has been done in this blog is of benefit to the iSCSI storage network.
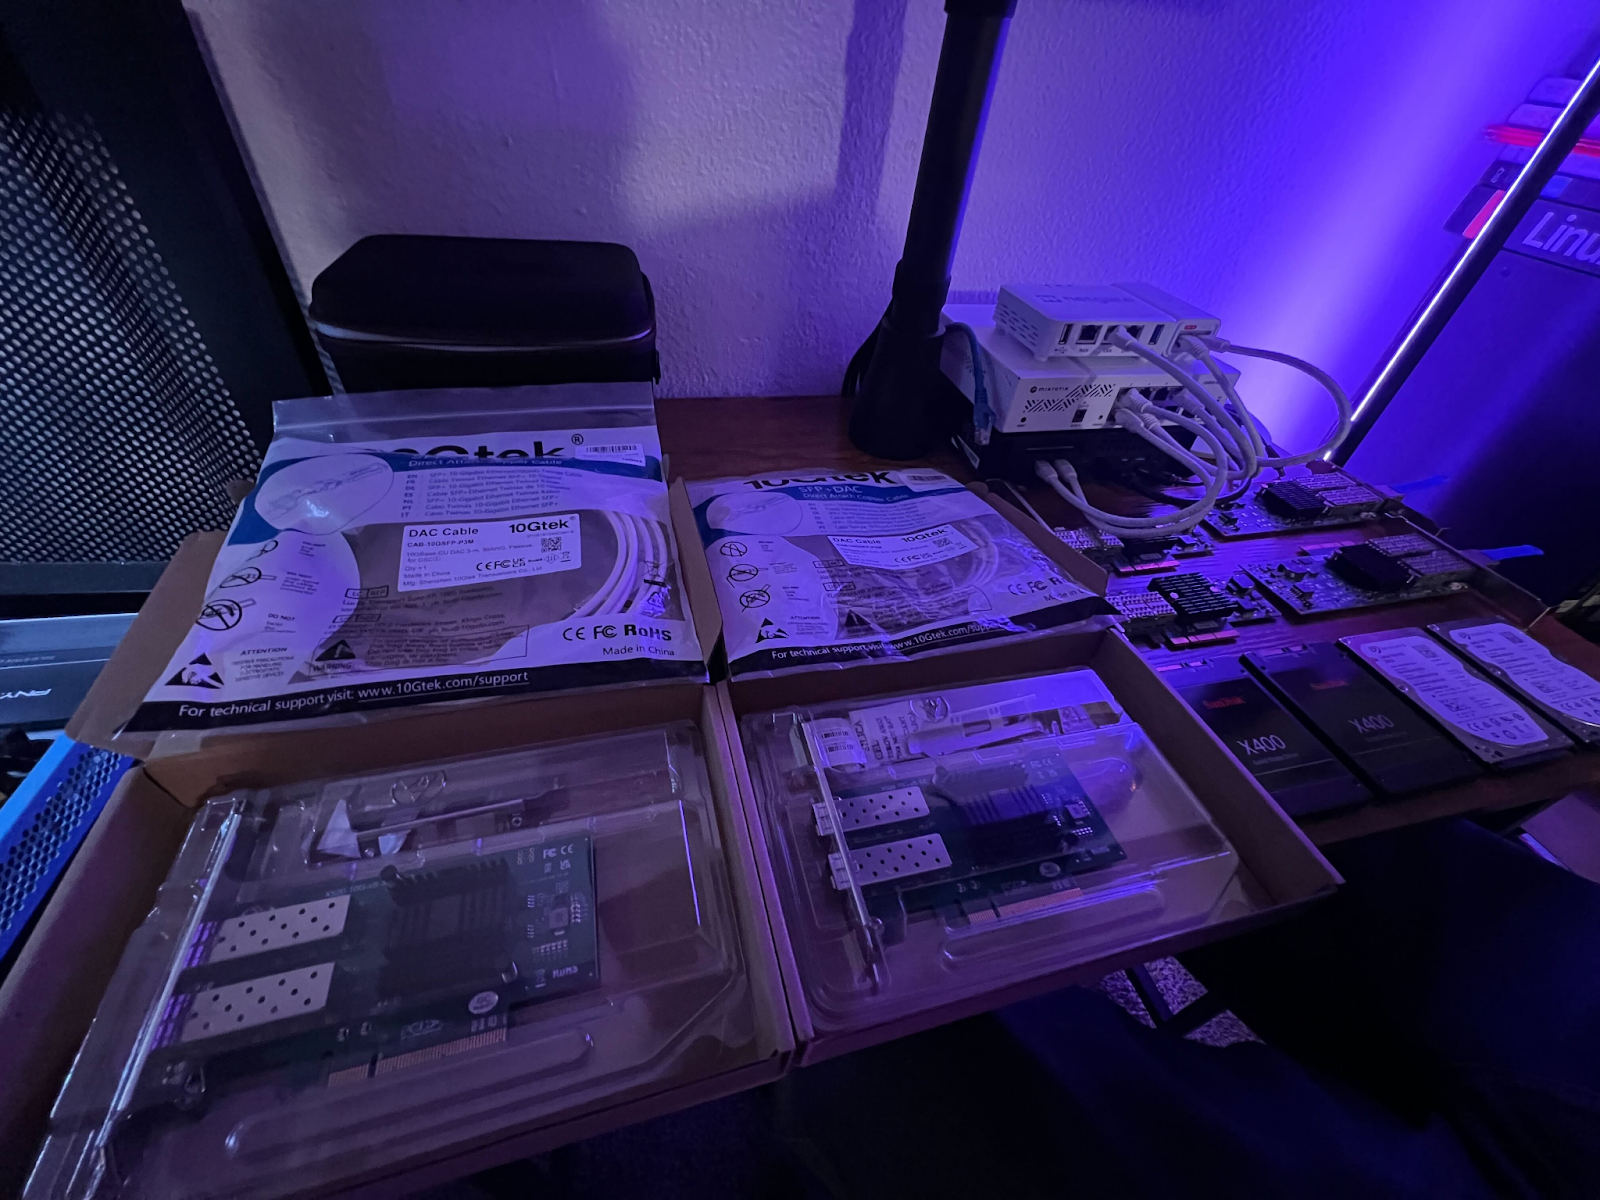
The New Parts:
One main goal here was to gain more in-depth experience with the engineering of various Windows storage services and then long-term use this infrastructure to back resources that will be used in my student network environment. The student network is a live section of my lab environment I use for my own education and to share with people in my online community so we collaborate on projects and gain real-world experience, for them, they get the benefit of working in a more mature environment with guidance. My hope is they can learn about infrastructure technology and build their own environments. For me, I get to enjoy sharing information and working with others on cool tech projects.
Why These Parts and My Initial Experience With Them:
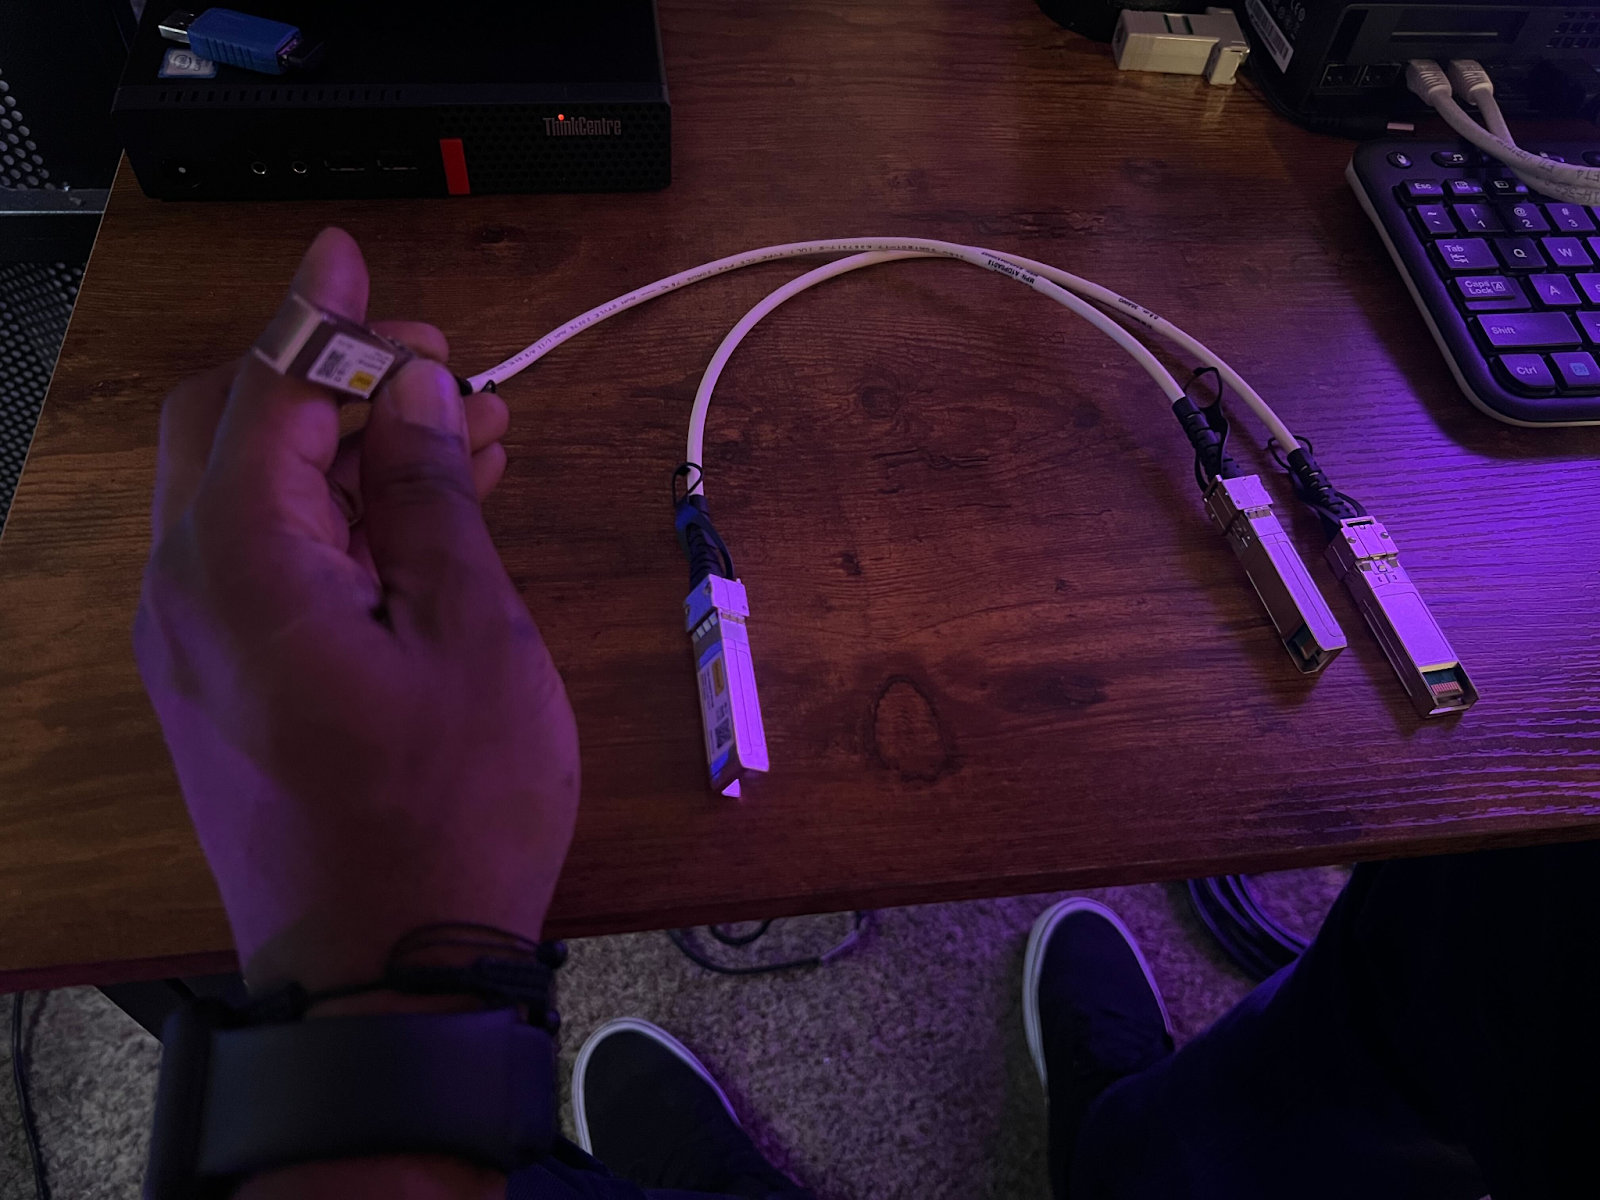
10Gtek SFP+ DAC Cables
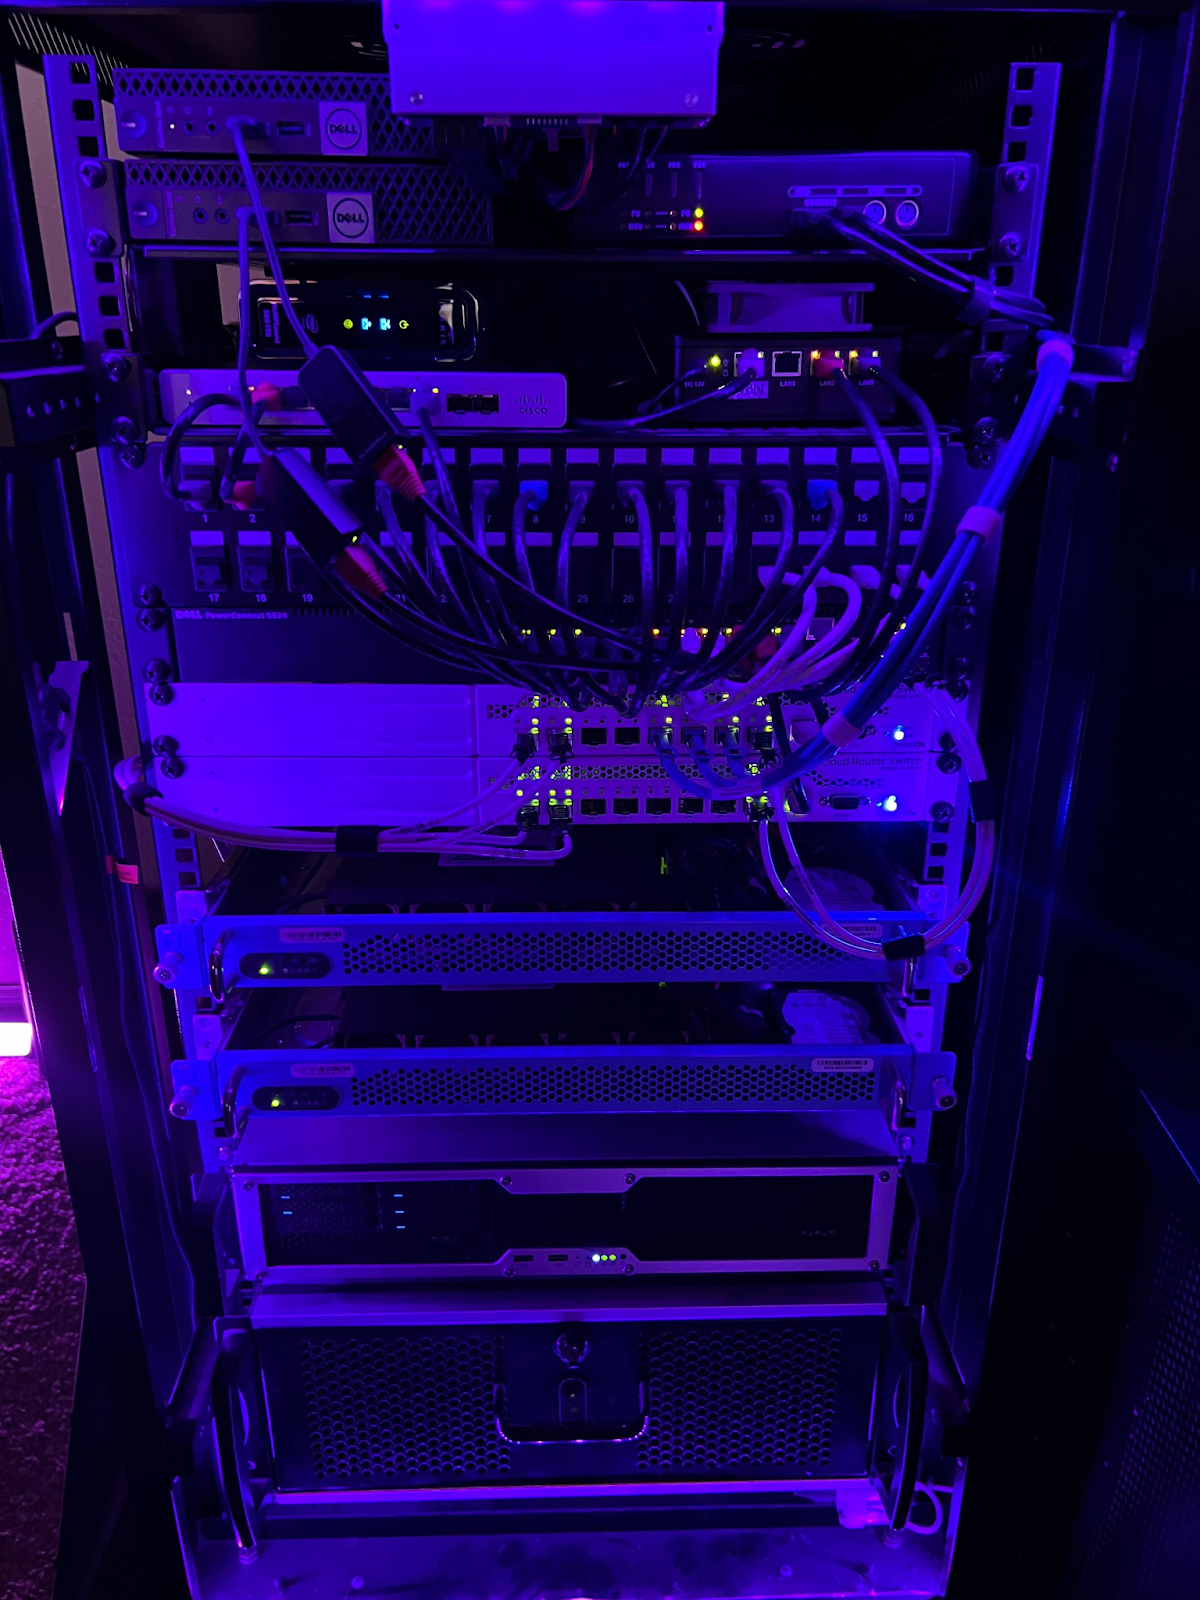
Historically, I’ve always just tried to keep things color-coordinated in my home lab, but I couldn’t find cables that looked like the existing Panduit cables in there, so I’ve been going with these 10Gtek 10G SFP+ DAC cables lately. They look and feel high quality, and I see no issues when monitoring the switch ports for errors, so I’ll be rocking with this for now and in the future.

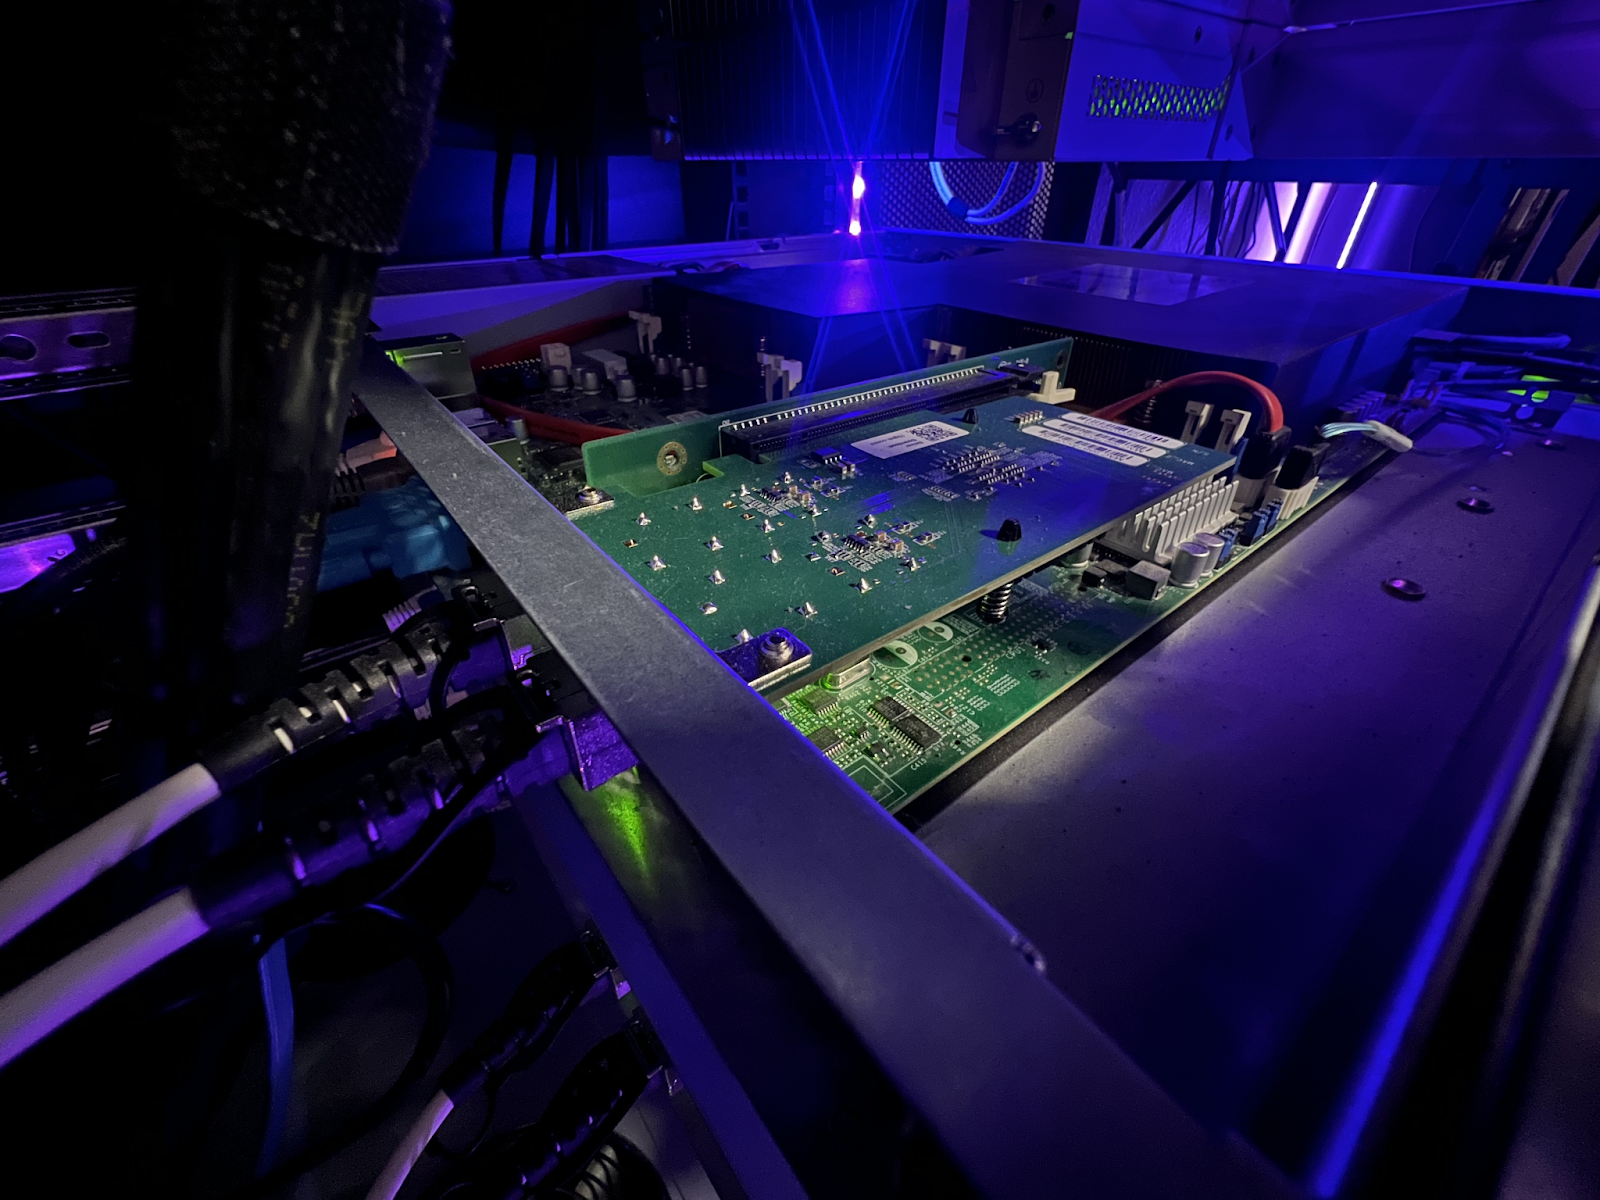
10Gtek 10Gb Network Card (Intel X520-DA2)
So the interesting thing about the network card choice was I realized I just wanted something that had broad support across a bunch of OS’s/Hypervisors and versions. I knew when I started doing research (a couple Google searches. I didn’t spend much time on this.) that some Intel X520 might be the choice. For most servers in my homelab I would look to use older Mellanox ConnectX-2 and 3 ethernet cards to add 10Gbe support because they can be had for pretty cheap on places like eBay, but this time around again, I figured let’s get something a bit newer so in 5-10 year when Im putting this NIC in some super media PC it will still be supported by some future OS release. [Homelabber repurposing logic, I guess…] The Intel X520 cards are known to be pretty broadly supported.
MikroTik CRS309-1G-8S+in
I chose to go with the MikroTik CRS309-1G-8S+in because I needed more 10Gbe ports in my lab network and needed another 10Gbe capable switch because I wanted to start implementing more advanced Windows Server cluster failover features, some that required shared storage and others that could benefit from a more robust server network overall.

Trouble With New Switch
Nothing against MikroTik as I have had one of these switches for a while now and it’s been rock solid for the last 5 ish years, but when I say I had trouble with this new CRS309-1G-8S+in. I mean I had TROUBLE with it! Out of the box at 1st boot into RouterOS everything was fine but when switching the operating system to boot into SwOS (Switch OS) it would just hang at post stating the bootloader couldn’t find the firmware. This led me to believe for a while that the SwOS firmware was cooked… so I proceeded to look into reviewing the process for reinstalling the latest version of SwOS. After a solid day and a half of troubleshooting on all of this and working through 3 MikroTik tools, winbox, a tftp server, and a local DHCP server tool I was able to get RouterOS & SwOS updated on the device and successfully switch it to boot to SwOS. hurrah! 😃😌

If you want to know more about what causes these types of issues and the fix check out this video from Random Technical Stuff – RTS; How to boot into SwOS and How to fix SwOS no boot condition. Mikrotik CRS317 | Problem Solved! | Quick explanation.
After working through the various network configurations on the devices I went straight into working on the iSCSI configuration on the NAS and the Windows Servers. I worked on prepping the initial host configs a few days prior so none of that needed to be worked on when resuming this project when the new parts came in. I won’t show much of what was done on the NAS, but it’s pretty much a standard iSCSI configuration on TrueNAS with ZFS mirrored 1TB’s SSDs being presented. The idea here was to make the NAS storage as robust as possible for this setup with existing hardware I already had.

Implementation & More on the Why
This is a basic diagram of the iSCSI network, including our 2x Hyper-V host, 2x CRS309 switches [To the right], and the NAS. Also, scene is the management/access switch [To the left] and our clients. The host and the NAS each have 1x dual port 10Gbe network cards. Just to mention this server infrastructure is referred to as a “non-converged infrastructure” or a “traditional infrastructure,” where compute, storage, and networking components are often purchased, managed, & supported separately, meaning they are not combined into a single, unified system like in a hyper-converged solution; In other words, hyper-converged infrastructures represent more of a siloed approach to IT infrastructure and the engineering/administration that goes along with it.


iSCSI and MPIO
The neat and critical part about all of this, and what I really want to highlight again, is the iSCSI and MPIO configurations and how they work together to provide fault tolerance and performance by using multiple network paths for redundancy and load balancing.
What is iSCSI?
iSCSI (Internet Small Computer Systems Interface) is basically a protocol that lets you connect storage over a network as if it were local. Think of it as a way to make your server think it has direct access to a hard drive that’s actually somewhere else entirely, maybe on a NAS or a dedicated storage server.

And MPIO?
MPIO (Multipath I/O) isn’t a protocol, it’s more a framework that works alongside technologies like iSCSI. Its purpose is to create multiple paths between your servers and storage, allowing you to set up failover and load-balancing policies. Think of it like having several routes to reach the same destination; if one path has an issue, the others can keep things running. MPIO is especially valuable for mission-critical systems, ensuring reliability and smooth performance even when things go wrong with one device on a single path.
Example MPIO Network Diagram:

Why Separate VLANs & Subnets for iSCSI and MPIO Are a Good Move
Using different VLANs & Subnets for MPIO is all about keeping your storage traffic in its own lane. By dedicating separate VLANs to each storage path in your multipath setup, you’re isolating that traffic from the rest of the network noise, such as file shares, internet traffic, or whatever else.
When your iSCSI and MPIO paths have their own VLANs & subnets, you’re cutting down on the chance of network congestion bogging down & disrupting storage traffic. Each path gets its own clear “lane” which means data flows more efficiently.
Bottom line: separate VLANs & subnets for iSCSI and MPIO paths keep your setup efficient & and make troubleshooting an iSCSI network more straightforward overall.
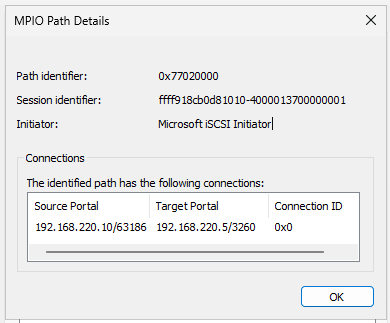
On a Windows Server after iSCSI and MPIO are configured, Inside the iSCSI Initiator settings you can find the “Configure Multipath (MPIO)” menu. This will show you your connected paths and if you dig a little deeper by hitting “Details” on a path you’ll see how the local NICs IPs (Initiator) are mapped to the various NICS on the storage device.
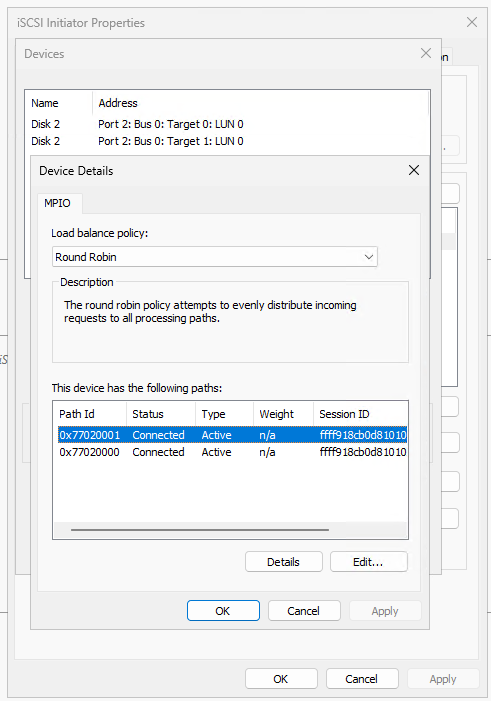
This path on VLAN 210 is using the 192.168.210.0/24 network. This shows the one NIC on the server HOST01 (Source Portal) 192.168.210.10 connected to the iSCSI target at 192.168.210.5 on the NAS. [Refrence the iSCSI Network Storage Diagram above]
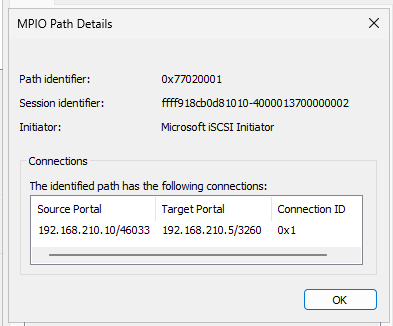
The other VLAN 220 is using the 192.168.220.0/24 network. This shows the other NIC on the server HOST01 (Source Portal) 192.168.220.10 connected to the iSCSI target at 192.168.220.5 on the NAS. [Refrence the iSCSI Network Storage Diagram above]
After the paths are set during the iSCSI initiator configuration, you’ll immediately notice that the OS will start using both paths when transferring data with the iSCSI target.

There are further optimizations you’ll want to look into with your particular iSCSI network. In most cases, vendors will recommend the same: place your iSCSI traffic on a dedicated network that is not routable and has extra networking protocols, such as Windows discovery protocols turned off. E.G. NetBIOS
Why This Setup is Worth the Effort
Here’s how this all comes together. At the core of this configuration, we are leveraging iSCSI and MPIO. I’ve built a storage setup that’s not just more efficient but also more resilient for the services running on it. With multiple paths for my VMs to access reliable storage on the NAS, I’ve mitigated multiple risks of single points of failure, such as a cable being unplugged, a port failing on the switch, or even the whole switch going down. Again, this is just a lab environment. Sure, in a production environment, there are additional layers of redundancy you’d need to account for, but sometimes in your lab, the goal often is to make the most of the resources you have available and create a setup that best simulates the real world to a practical extent.
Wrapping It All Up
This is a high-level overview of this lab setup and a quick blog I put together while working on it and after the initial config, but it gives you a practical example of how iSCSI and MPIO work, again, at a high level.
This setup has been completely destroyed, and I’ve started rebuilding it with new information for security reasons.
But at the end of the day, the whole point of building a home lab and doing projects like this is to learn, experiment, and push your skills to the next level. Labbing isn’t just about playing with tech – it’s about building a strong foundation for real-world scenarios.
If you’re like me and love this stuff, I say to you, don’t shy away from diving into the deep end with your projects, some insight you just cant get from reading a book or watching videos. Doing is where the actual experience is built!
SEE YOU IN THE LAB 👨🏾💻